Android has released an easy way to flash android builds to any of the supported android devices. This is really helpful for developers and testers and they need not wait for months to get the OTA update on their phone to test the applications against the new OS build. Or rather follow a complex install process to upgrade the phone to the latest OS in alpha and beta channels.
There are 2 requirements to start using the flash tools.
- First, predominantly only the Google’s own pixel devices are supported for upgrade (Surprisingly, the first generation Pixel is missing in the list).
- Second, the browser that you are using to run the flash tool should support WebUSB.

I have tested the flash tool with the following devices –
- Pixel
- Pixel 3 (Verizon)
- Pixel 3a (Bought directly from google store)
- Honor 6X
- LG G8
- Samsung Galaxy S10 (OEM unlocking is not shown under developer options as an item)
I was able to upgrade everything in the list above, however, I wanted to understand the failure cases as well.
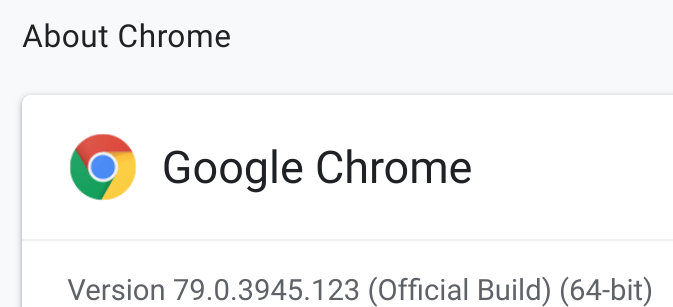
I am trying to use my personal Pixel Book as the development machine and Chrome as the browser. Make sure that you have chrome 79 if you are trying to use the Chrome app in Android/Chrome OS.
Now let’s start. First let me cover the initial common steps among all the phones that I tried installing.
Goto the website – https://flash.android.com. You will see the home page getting loaded with an alert.

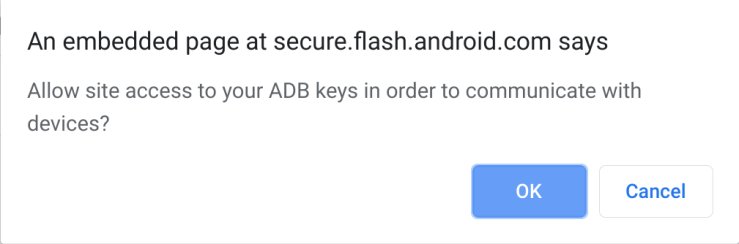
Click ‘Ok’ button on the alert and click ‘Get Started’ button on the Home page. A page to add a new device will be loaded.

Please make sure that you have provisioned the device as per the requirements.
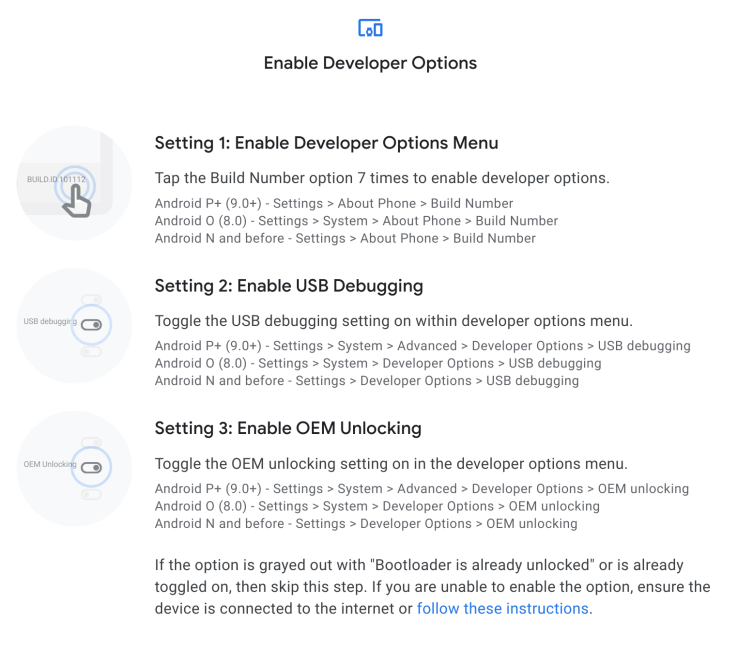
For some reason, if the OEM unlocking (In developer options) button is grayed out then try the following.

Now, try connecting the phone to your development machine with the USB.
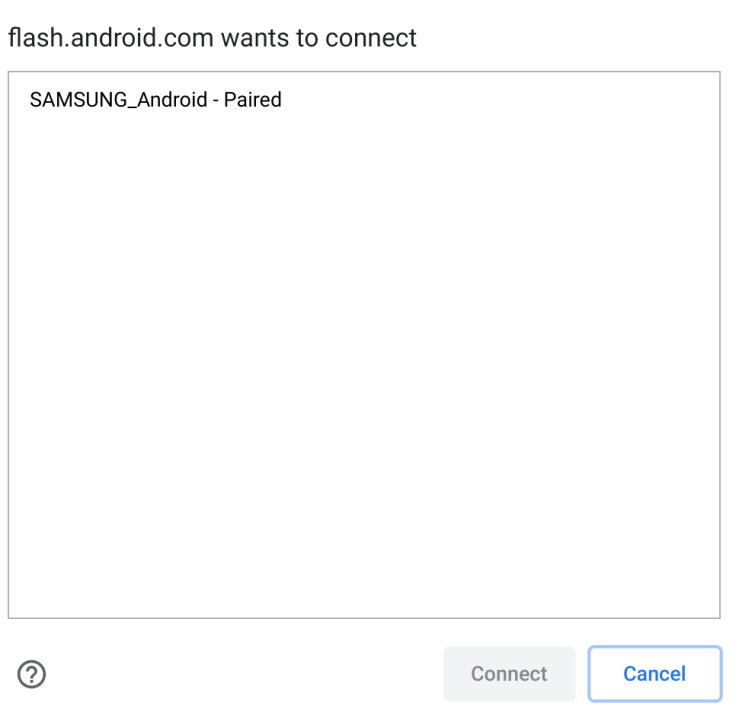
Select the device and the ‘Connect’ button will be enabled.

Now select ‘Connect’ to proceed further. You will see the below page with ‘Auth pending’ message.
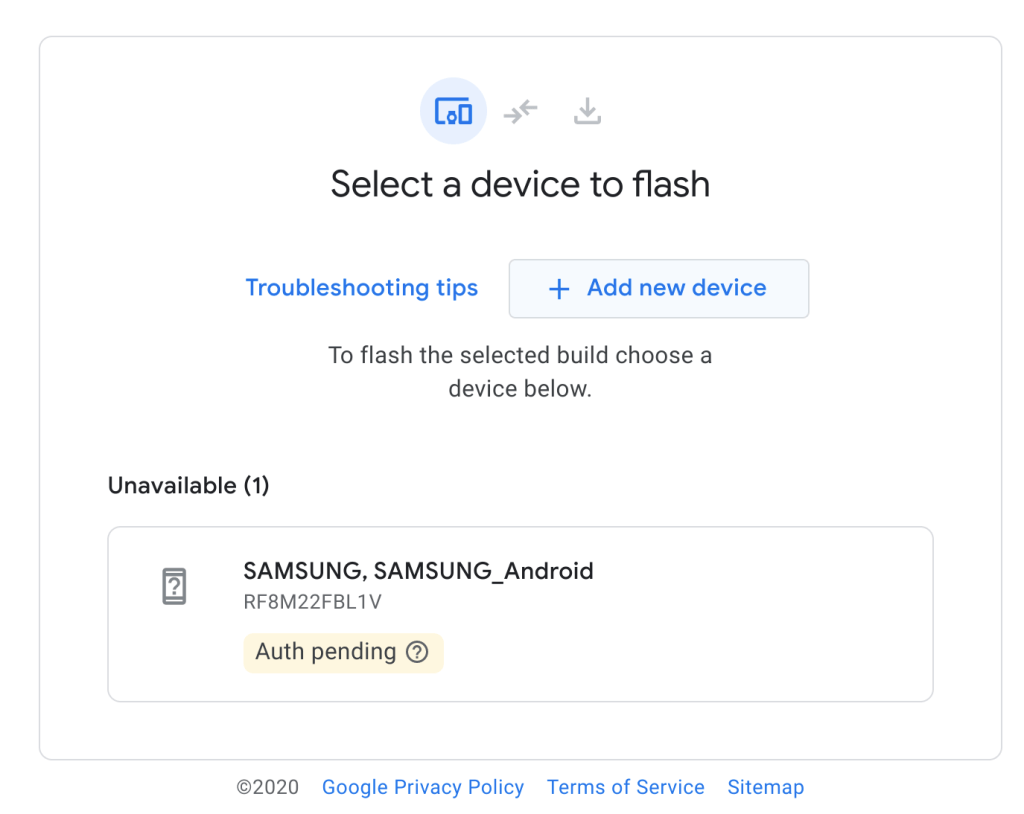
If this is the first time you are connecting your phone with the development device, you will see a pop up to authorize USB debugging. Select ‘Ok’ in the mobile device to continue.
In some devices, you will not be able to proceed beyond this –
- Even though OEM unlocking is enabled, flash tool will not be able to update to the latest OS because of the build compatibility
- In some cases, even in pixel phones, OEM unlocking can not be enabled if it is locked with the service provider like Verizon
In case of 1) Samsung Galaxy S10 and 2) Honor 6X where there was no OEM unlocking under developer option and 3) Pixel (First generation) with OEM unlocking enabled or disabled, you will get the below error and can not proceed further.

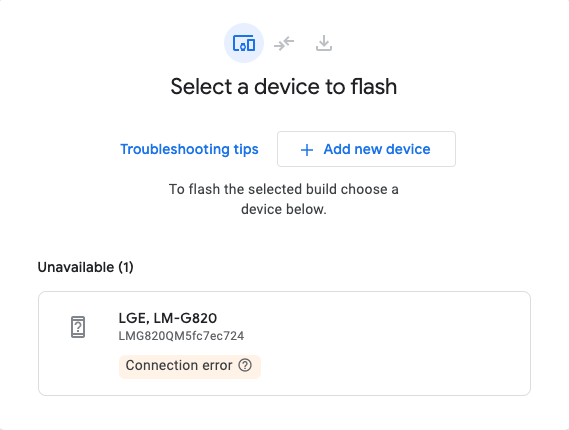
In case of LG G8 with OEM unlocking enabled you will get the ‘Connection error’ and can not proceed further.
If the device that you are trying to upgrade the build is supported to be used with flash tool, then you will see the below page with ‘Connected’ message.
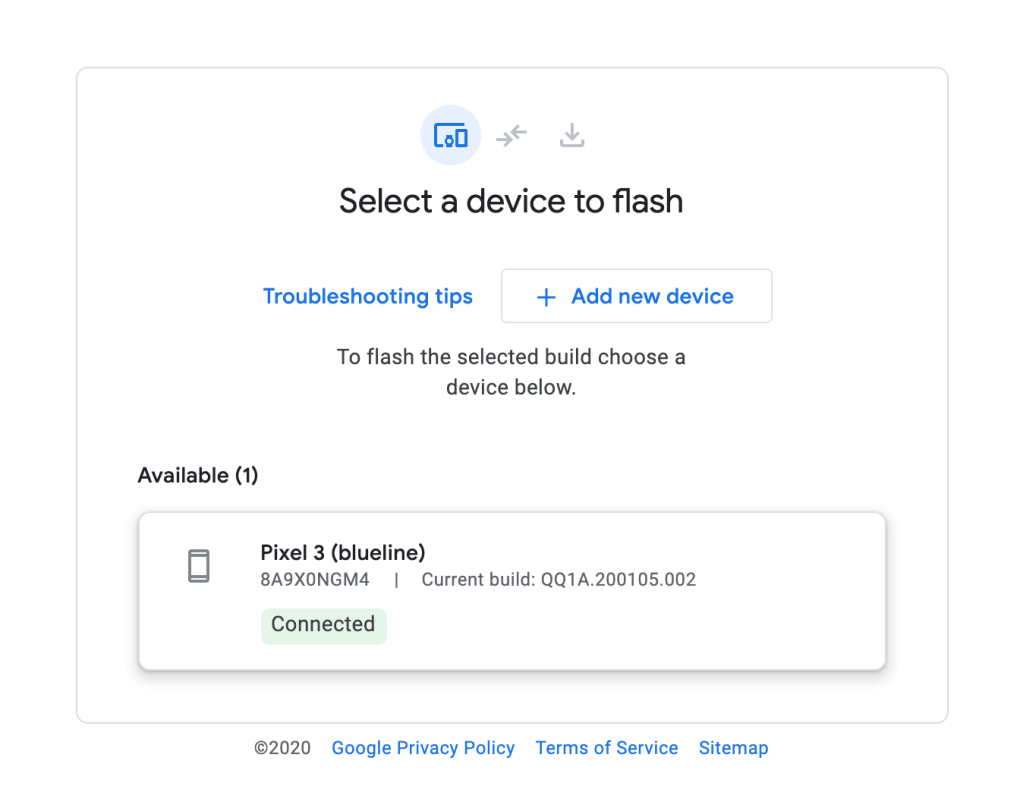
Assuming, you are able to enable 2 (Developer options and USB debugging) of the 3 toggles (Developer options, USB debugging and OEM unlocking), you will have the below flow. I was trying this with the Pixel 3 (Locked with Verizon). Just a note – I tried enabling ‘OEM unlocking’ toggle by calling VZ customer service, but it is not possible. Please comment if you could successfully OEM unlock your Pixel 3 or 4 with VZ.
Click on the available device and you will be presented with the below page –
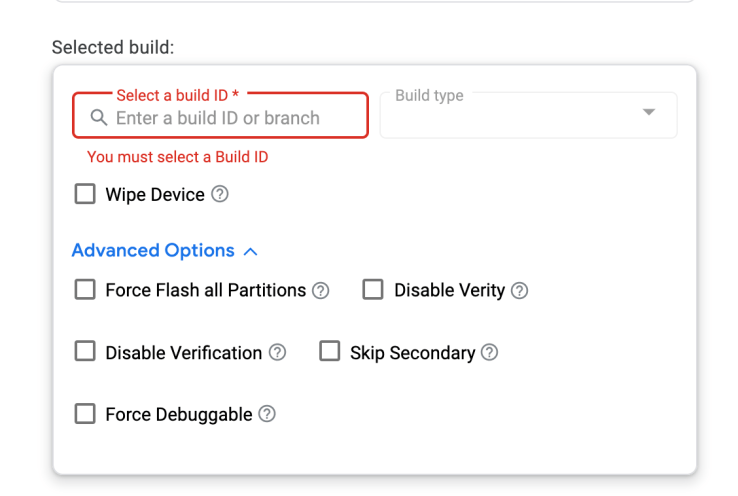
Click on the ‘Select a build ID’ and ‘build type’. The available higher version of the build will be automatically populated based on the device model.
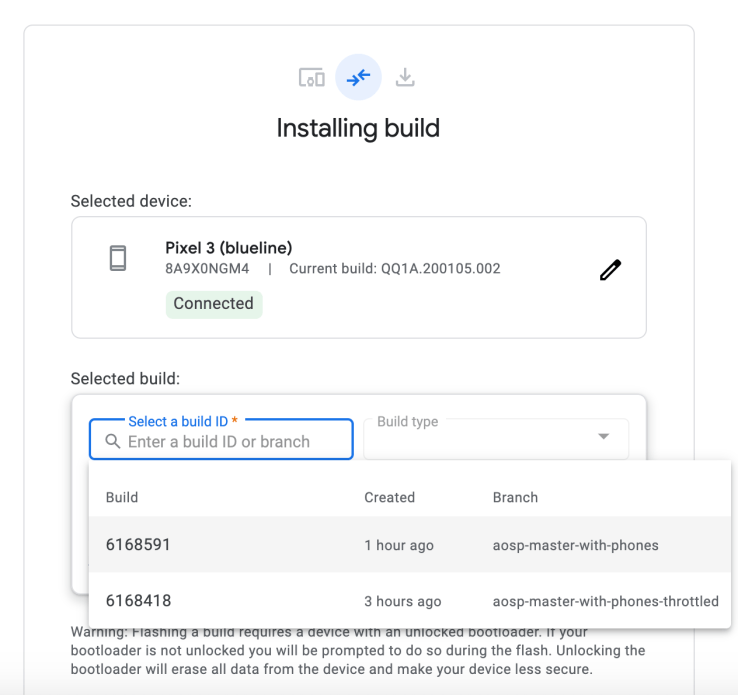
Click ‘Confirm’ button in the page below.

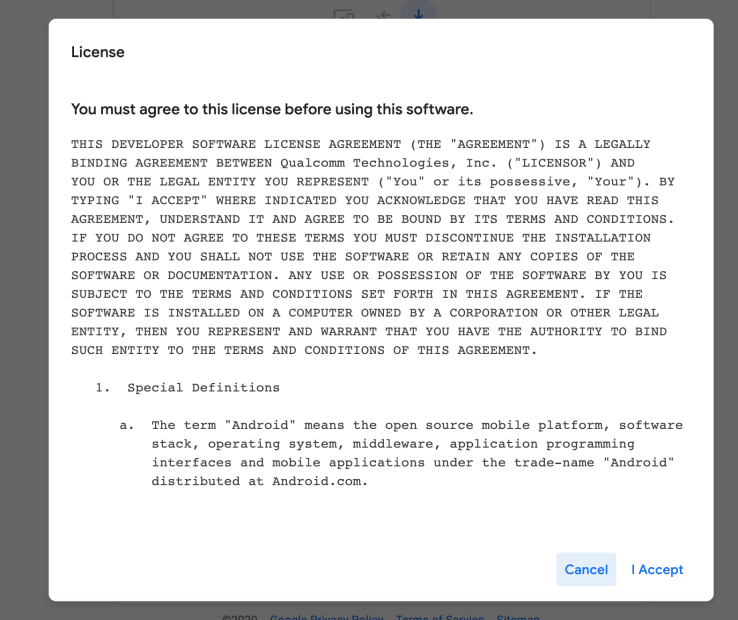
You will be presented with the License agreement page and click ‘I Accept’.
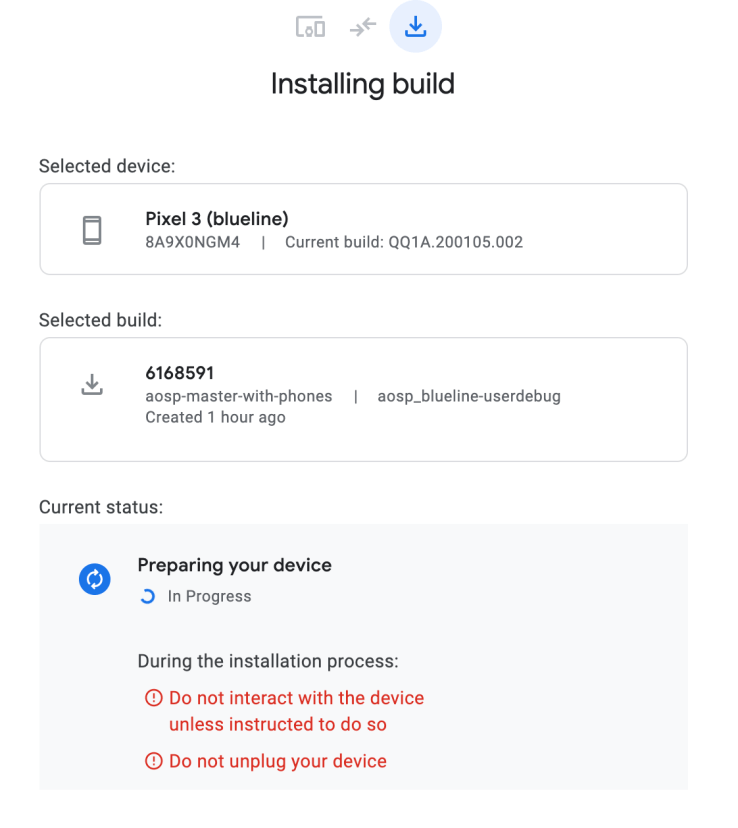
The installation progress page will be presented.
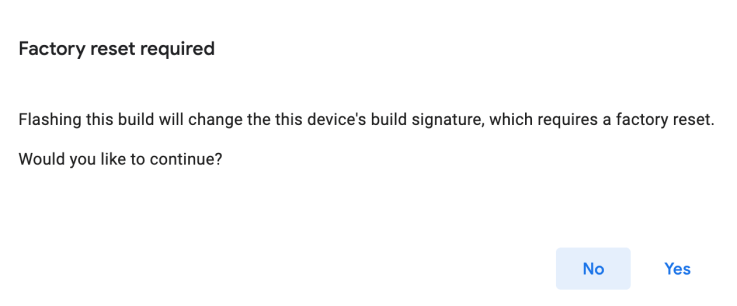
An alert would request to factory reset the device. Proceed and click ‘Yes’.
Occasionally, you may get the below error if the device is used by some other application. Disconnecting the USB and plugging it again helps. (Remember you have to start from selecting the device again)

Remember, we have not enabled OEM unlocking in the device. So trying to update the OS in the Pixel 3 (Verizon locked) device would throw an error and can not be proceeded further for this device type.

When you click on ‘Restart process’ the below page will be presented and you can try with some other device with OEM unlocking enabled.
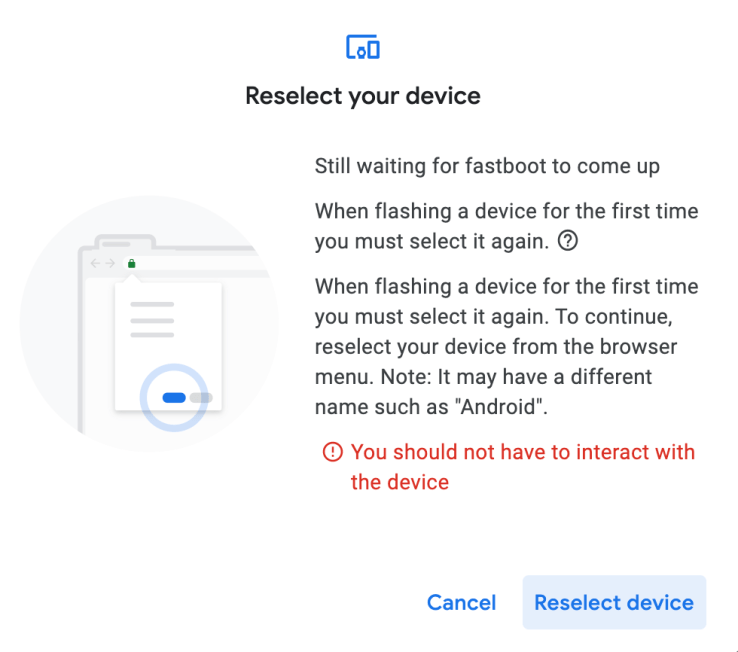
Clicking on ‘Reselect device’ will take you to the process of starting from the beginning. Once when I tried on Pixel 3a with OEM unlocking enabled, the device update succeeded.
Some drawbacks though –
- The devices can be upgraded only to the higher versions, there is no option to downgrade the builds.
- This process is seamless only if you try to use Google Pixel (Except pixel first gen) devices and when it is not purchased through any of the cellular providers.
Please share your comments on the new android flash tool and your experience.
Happy learning!
